
Your First Week in the Philippines: A Setup Checklist That Actually Works
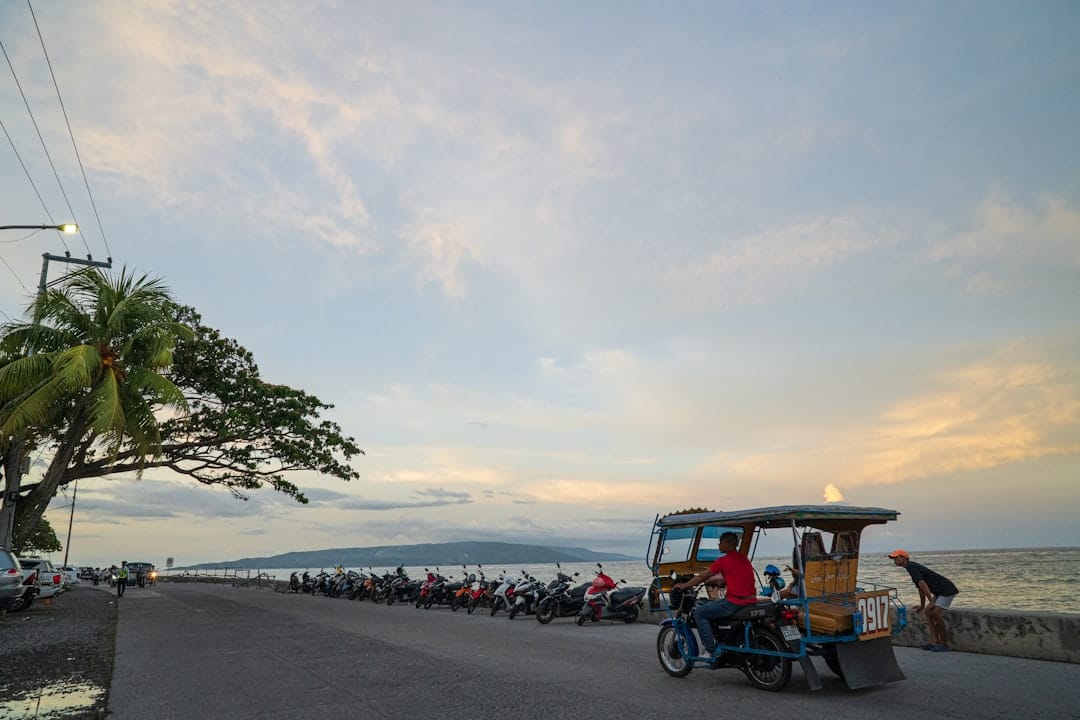
The first week in the Philippines is a setup week, and the order of operations matters, because half the systems here depend on another system already working. A local SIM before GCash, GCash before half of daily life, small notes before any market. Here’s the sequence, written for Negros but true nearly everywhere.
Day 1: the airport tasks
Two SIMs, not one. Buy Globe and Smart both, at the airport booth or the first mall, passport required for registration, minutes to activate. Coverage alternates by barangay across the island, and the second network is the backup that makes everything else on this list dependable. Load ₱300–500 on each.
Break your big notes immediately. ATMs dispense 1000-peso bills, and a 1000 is nearly unusable at markets, tricycles, and sari-sari stores, not because vendors refuse, but because nobody carries that much change. Break 1000s at the airport shop, the supermarket, the gas station, every chance you get, and treat the small-note stash as its own currency.
Get to your base by daylight. Buses and long transfers after dark are the first-week mistake with the highest cost. Land, settle, sleep; the island starts tomorrow.
Day 2: money and the phone become tools
Set up GCash. It needs your working local SIM, hence the order. Register in the app, then complete verification with your passport. Once verified, GCash pays for load, utilities, shops, and half the island’s small commerce, and it solves the change problem permanently for anything scannable.
Establish the cash float. Withdraw a week’s expenses whenever you’re in a city with reliable ATMs, because machines in smaller towns run empty, go offline in brownouts, and don’t restock on your schedule. A home float covering at least a week of normal spending is standard practice here, not paranoia.
Find your three waters. The refilling station (blue containers, pennies per litre, everyone uses them), the nearest sari-sari store, and where ice is sold. Locals don’t drink the tap; do what locals do.
Day 3: the neighborhood
Walk your barangay in daylight. Find the market, the tricycle corner and its going rates (ask a neighbor what the fare should be, then always agree it before boarding), the pharmacy, the hardware store, and the plaza.
Start the sari-sari relationship. Buy your load and drinks at the store nearest you rather than the mall. By week two the store knows you, and the store knowing you is the neighborhood knowing you, which pays off in everything from package deliveries to typhoon warnings.
Learn the greetings. Maayong aga, maayong hapon on the Occidental side; maayong buntag on the Oriental. Nong and Nang for elders. Ten words, disproportionate returns.
Day 4: paperwork worth doing early
The barangay certificate, once you have an address, even a rental one: it costs almost nothing, takes minutes at the barangay hall once you’re known there, and banks, government offices, and the LTO all accept it as proof of local address later. Getting it early also signals to the barangay that you’re a resident, not a visitor, which changes how everything else goes.
Know your visa clock. If you entered visa-free, note your exit-or-extend date now; extensions happen at Bureau of Immigration offices in Bacolod and Dumaguete, no trip to Manila needed. If you arrived with a Filipino spouse on the same flight, you’re likely stamped in balikbayan for a full year, check your stamp, because thousands of people pay for extensions they never needed.
Photograph everything: passport stamp, receipts, the lot, stored in your phone and cloud. Paperwork here is manageable when current and expensive when lost.
Day 5: the house systems
Prepare for brownouts before the first one. Power cuts are routine, more in summer, more outside cities. The kit: charged power bank, a torch or headlamp per person, and if you’re working online, a UPS or small power station and knowledge of which café or mall has generator power.
Sort laundry. Find the neighborhood labandera or laundry shop (per-kilo pricing, next-day service) rather than hunting for machines that mostly don’t exist.
Test your internet honestly. Run speed tests at different hours; if you’re working remotely and the fiber or signal disappoints, the second SIM is your hotspot, and Starlink is the island’s fix for anywhere the lines don’t reach.
Day 6–7: the rhythm, and the restraint
Do one market morning properly. Before 9am, when the best of everything moves. Buy from two or three vendors you’ll return to; the suki relationship starts now and prices itself in your favor later.
Do one plaza evening. The town social hour is real, and walking it at the same time daily is how you stop being new.
And commit to nothing. The classic first-week errors are all commitments: the year lease signed before seeing the wet season, the motorbike bought before knowing the roads, the “great deal” on anything from a stranger who befriended you at speed. Week one’s only jobs are the systems above and paying attention. The island rewards the person who spends the first week becoming functional and the first year deciding slowly, and it quietly taxes everyone who does it the other way around.
Related Guides
- What Negros Island Feels Like When You Stop Rushing
- What Most People Get Wrong About Negros Before They Arrive
- Staying Local in Negros Island
- Check Out Local Life First